
Adding a calendar to your Wix website can enhance its functionality by enabling you to showcase events, bookings, appointments, or simply allow visitors to keep track of important dates. Here’s a detailed guide on how to integrate a calendar into your Wix site, including different methods such as Wix Bookings, third-party integrations, and embedding Google Calendar.
Step 1: Log In to Your Wix Account
- Begin by logging into your Wix account. Once you’re in the dashboard, select the website you want to add the calendar to.
Step 2: Choose Your Calendar Type
Before diving into the specific steps, decide what type of calendar you need for your Wix website. Your options include:
- Wix Bookings for scheduling services, appointments, or consultations.
- Google Calendar for a versatile calendar that can be integrated with Google services.
- Third-party apps from Wix App Market for a range of custom calendar functionalities like event booking, countdowns, and more.
Step 3: Adding Wix Bookings for Appointment Scheduling
Wix Bookings is a built-in solution ideal for service-based businesses or event organizers. It helps you manage appointments, bookings, and events in one place.
Steps:
- Open the Wix Editor for your website.
- Navigate to the Wix App Market on the left-hand side menu.
- In the search bar, type “Wix Bookings” and click Add to Site.
- Wix will prompt you to set up the app. Configure the calendar according to your needs:
- Add services, availability, and staff members.
- Customize the booking options (time slots, automatic confirmations, etc.).
- Once the setup is complete, you can drag and drop the Wix Bookings calendar onto any page you want it to appear.
- Preview the page and Publish the website once satisfied.
Customizing Wix Bookings:
- Modify the calendar’s design by changing colors, fonts, and layout using the Design Settings in the editor.
- You can also add payment methods for paid services.
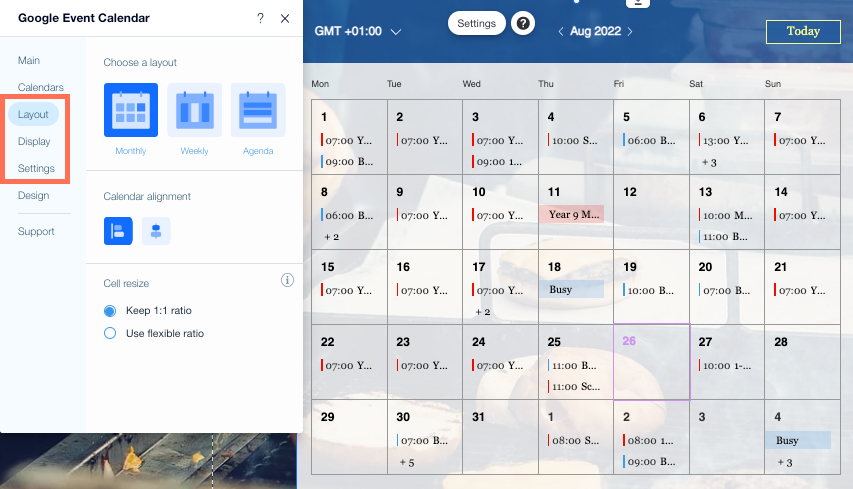
Step 4: Embedding Google Calendar
If you prefer using Google Calendar, you can embed it directly into your Wix site. This option is great for displaying personal or public events in a dynamic and familiar format.
Steps:
- Open Google Calendar in your web browser.
- Go to the specific calendar you want to embed. Click the gear icon (Settings) in the top-right corner.
- Navigate to Settings for my calendars and select the calendar you wish to embed.
- Scroll down to the section labeled Integrate Calendar. Copy the embed code provided.
- Now, return to your Wix editor. Choose the page where you want the calendar to appear.
- Click the + Add button on the left menu and select Embed from the options.
- Choose Embed a Widget, and then paste the Google Calendar embed code into the box.
- Resize and position the calendar as needed on your webpage.
- Preview and Publish to make it live.
Step 5: Using Third-Party Calendar Apps from Wix App Market
The Wix App Market offers a variety of third-party calendar solutions, depending on your website’s needs, such as advanced event management or booking systems.
Steps:
- In the Wix Editor, go to the Wix App Market.
- Search for “Calendar” in the search bar.
- Explore various options like Events Calendar or Tockify Event Calendar.
- Once you’ve selected the app that suits your needs, click Add to Site.
- The app will guide you through setting up the calendar features, including customization, event creation, and display options.
- Customize the calendar’s design and layout using the built-in tools.
- Drag and drop the app widget to the desired location on your website.
- Preview and Publish the site to make the calendar live.
Step 6: Customize Your Calendar’s Appearance
Whether you are using Wix Bookings, Google Calendar, or a third-party app, you can fully customize the calendar’s appearance to fit your website’s theme. Adjust the size, fonts, colors, and layout in the Settings menu of the editor to ensure it aligns with your branding.
Best Practices for Integrating a Calendar in Wix
- Positioning: Place the calendar on a page where it serves the purpose best. For businesses offering appointments, consider positioning it prominently on a “Book Now” page or homepage.
- Responsiveness: Ensure the calendar is responsive, meaning it adjusts properly on mobile devices.
- SEO Optimization: Ensure that calendar pages are well-optimized for search engines by including relevant keywords in the titles, descriptions, and meta tags.
Read More: How to Embed a Google Calendar into Wix Website
Conclusion
Adding a calendar to your Wix site is a practical way to engage your audience, whether for scheduling events, showing availability, or sharing important dates. Depending on your requirements, you can choose from Wix Bookings, Google Calendar, or third-party apps for a seamless integration experience. After setup, ensure the calendar design complements your website and is easily accessible to users.
By following these steps, you’ll enhance your site’s functionality and provide visitors with an organized, user-friendly experience.
Optimizing your Wix website can significantly improve your online visibility and performance. As an SEO expert, I can provide tips on design, SEO strategies, or advanced integrations. If you’re looking for a Wix SEO expert, contact me today!